LMI 5000 Series Capillary Plastometer Digital Encoder Setup Guide.
The setting of the digital encoder must always be performed if the measurement does not start at the first mark on the measuring piston. In this case, switch to the calibration tab and follow these instructions.
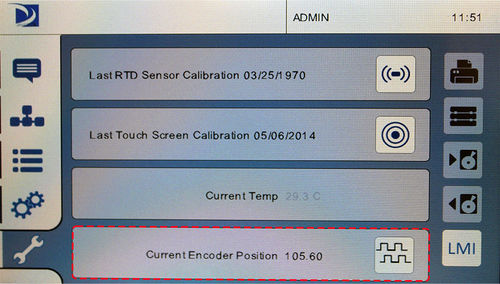
In the calibration menu at the bottom you will see the current position of the encoder "Current Encoder Position" and right next to it you will find an icon with "stairs" click on it.
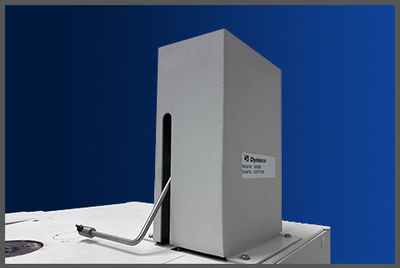
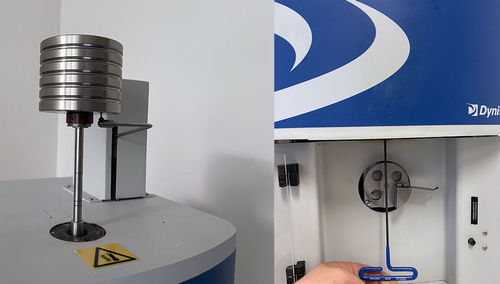
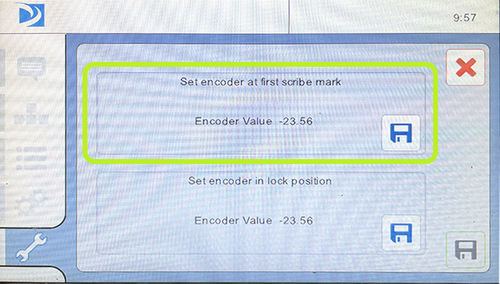
Place the measuring piston in the barrel of the plastometer (the capillary is not needed) and place the weight on the piston. The smaller the weight, the better for you. Lift the encoder arm. Insert the piston used to remove the capillary from the bottom of the barrel and set the measuring piston behind it to the first mark (the mark that starts the measurement). You can slightly prop up (deflect) the aluminum piston for pulling out the capillary in the desired position so that the position of the piston (marks) does not change. Then click the save icon .
.
 |
 |
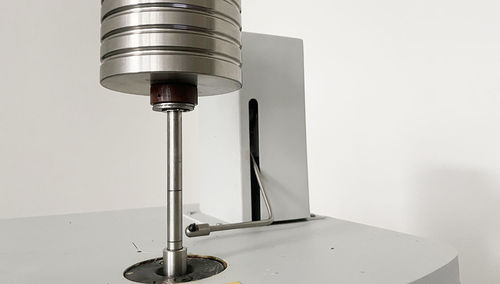
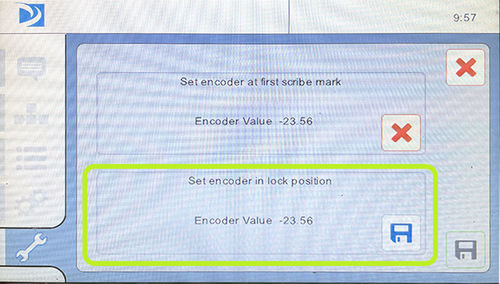
Set the encoder arm to the locked position and press the save icon  .
.
 |
 |
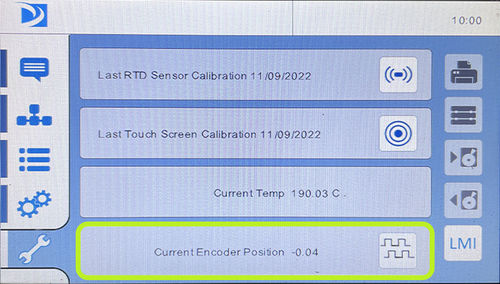
To make sure that everything is set exactly as it should be, you can easily find out. If you raise the arm of the encoder again to the first line, the current position of the encoder "Current Encoder Position" must be close to zero. If the first line approaches the zero value, everything is set correctly. If not, repeat the procedure.


